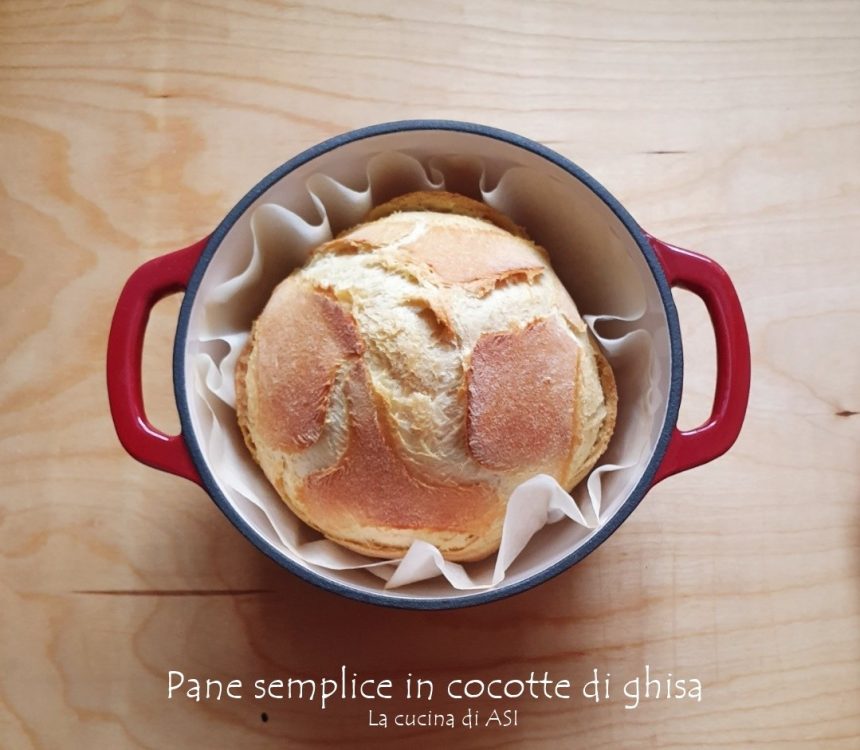
Et voici celle que je suivrais en premier (mais juste au feeling... moi je faisais du pain sans pétrissage, mais encore la pâte était plus liquide que ça, je la mettais dans une « forme à cake », mais je ne cuisinais pas dans une cocotte en fonte) :-)
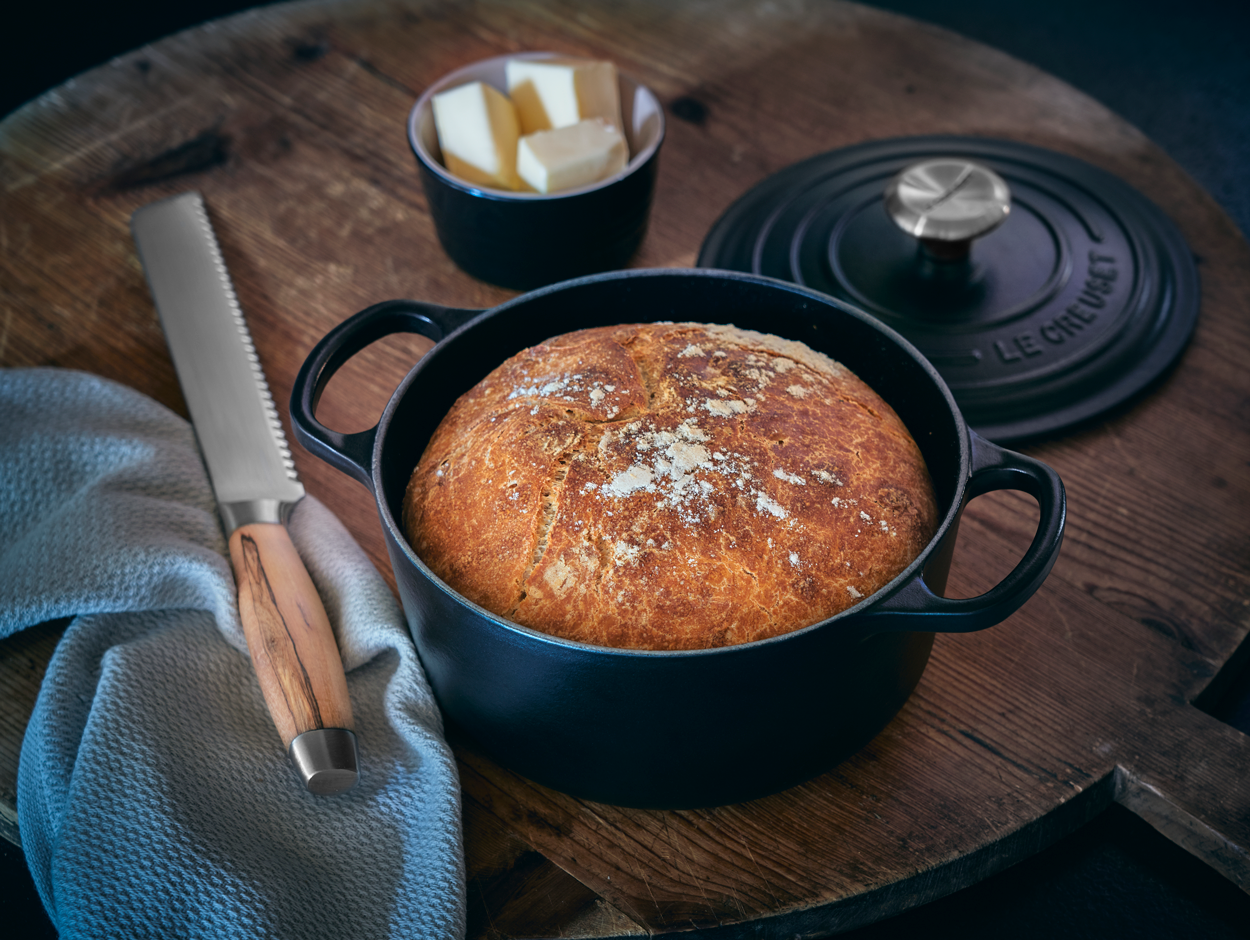
How to make the world’s easiest homemade bread – Artisan style!
Here are process steps with tips, but also see the video below – super handy to see the dough consistency, and how to form the dough.
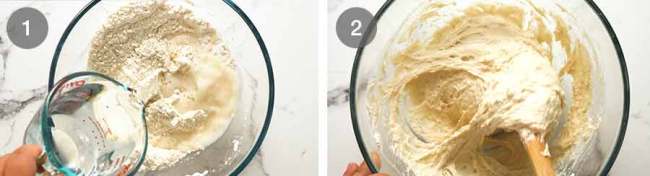
1. Make wet sticky dough
Mix together the flour, salt and yeast, then add warm water and mix. The “dough” will be very wet and sloppy, not kneadable at all – this is what you want! See video at 17 seconds for consistency.
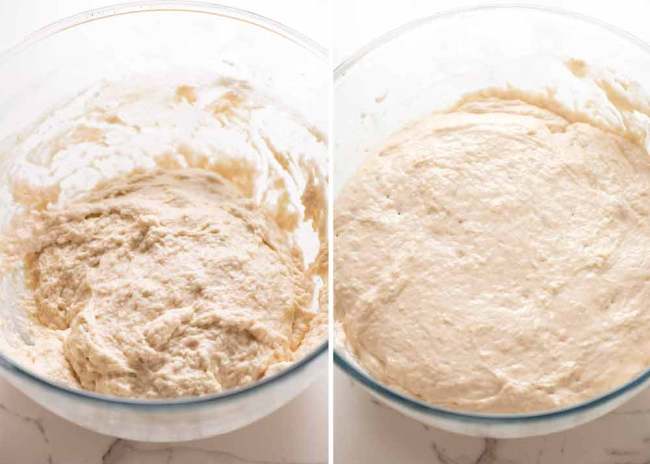
2. Rise!
Cover with cling wrap then place it in a warm place (25 – 30°C / 77 – 86°F) for 2 hours. The dough will increase in volume by double or more, the surface will become bubbly and the dough will be wobbly, like jelly. See video at 24 seconds for consistency.
OPTIONAL – develop flavour: Once dough has risen, you can bake immediately. OR, for better flavour, refrigerate for a minimum of 8 hours, up to 3 days. Time = better flavour development.
Bread in photos and video were baked immediately. I usually make this dough in the morning, refrigerate all day then bake in the evening. Or make the dough in the evening, refrigerate overnight and bake fresh in the morning! (10 – 12 hours in fridge). Beauty of this bread is that you can bake anytime!
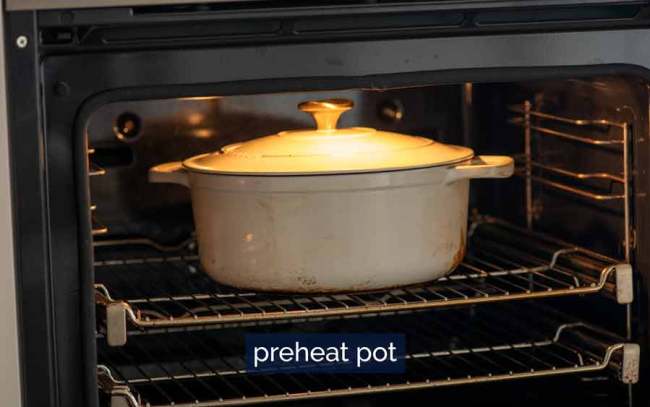
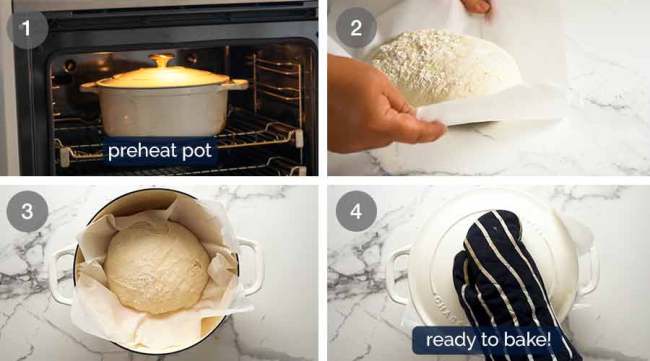
3. Preheat oven & pot
30 minutes before dough has risen, or while refrigerated dough is coming to room temperature, place dutch oven (cast iron pot) in the oven to preheat at 230°C/450°F.
Hot oven + hot pot = bread rising boost!
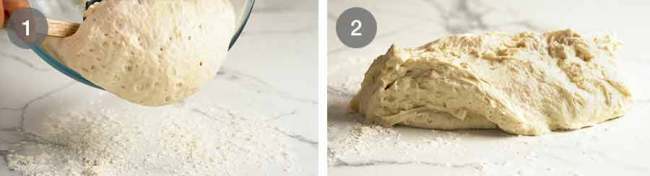
4. Scrape dough out
Scrape dough out of bowl onto floured work surface. It will be wet and sticky and that’s exactly what you want – because we will not be kneading it! In fact, you won’t even touch it with your hand.
PRO TIP: Dough handling and shaping technique devised to minimise addition of flour. Less flour = wetter dough = bigger air pockets, fluffier bread and more moist.
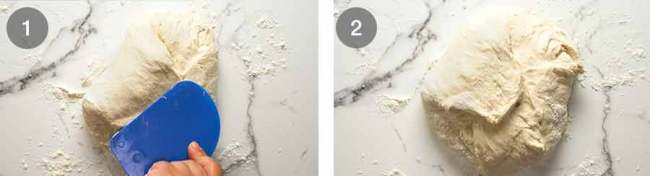
5. Shape the dough very roughly
Use a dough scraper or anything of similar shape (spatula, cake server, or large knife) to fold the sides in so it roughly resembles a round disc.
Don’t get too hung up on the shaping – you’ll deform it in the next step!! This step is mainly to deflate the dough.
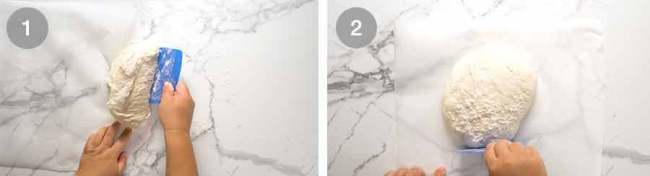
6. FLIP dough upside down onto paper
Slide a large piece of baking / parchment paper next to the dough, then flip it upside down onto the paper using the scraper so the seams from the step above are face down, and you have the smooth side up.
Slide/push the dough into the centre, then briefly reshape it into a round or slightly oval shape.
Do not get too hung up on a neat shape – this bread is supposed to be rustic! Besides, scruffier shape = more awesome crispy ridges
7. Prepare to bake!
Remove very hot pot from oven, then use paper to pick up the dough and put it in the pot, and put the lid on.
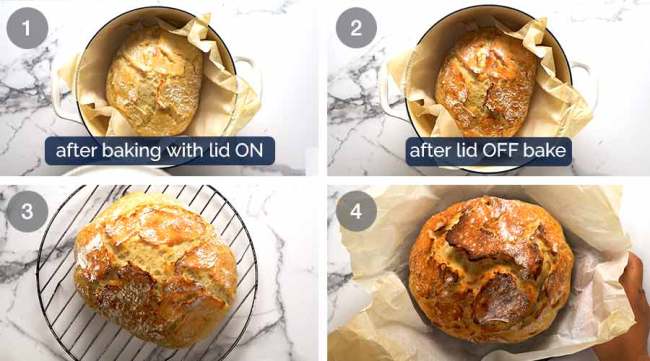
8. Bake!
Bake for 30 minutes with the lid on (this creates a steamer effect, allowing the bread to rise while it cooks before crust sets), then 12 minutes with the lid off to brown and crisp up the crust. The surface will crack – and you want this, for extra crispy ridges!! And it looks authentic, just like the Artisan bread you buy at bakeries. 😇
Cool for 10 minutes before slicing. This is important – to let the centre of the bread finish cooking (if you slice too early, it will seem a bit doughy. Patience was never my greatest virtue, so I learnt this first hand!)